
How to Increase DPI of an Image Online – Change Image DPI Easily
How to increase DPI of an image is one of those tasks that sounds technical but usually takes less than a minute once you understand what you are changing. You may be looking at a photo that shows 72 or 96 DPI while the form, portal or printer in front of you asks for 150, 200 or 300. The setting itself is easy to change, and you can do it in a browser without installing desktop software.
The important part is knowing what that change does — and what it does not do. Changing the DPI value is not the same as adding detail to a photo, and it is not the same as making the image larger in pixels. Once that distinction is clear, you can decide in a few seconds whether you need to change the resolution setting, resize the image, or leave it alone.
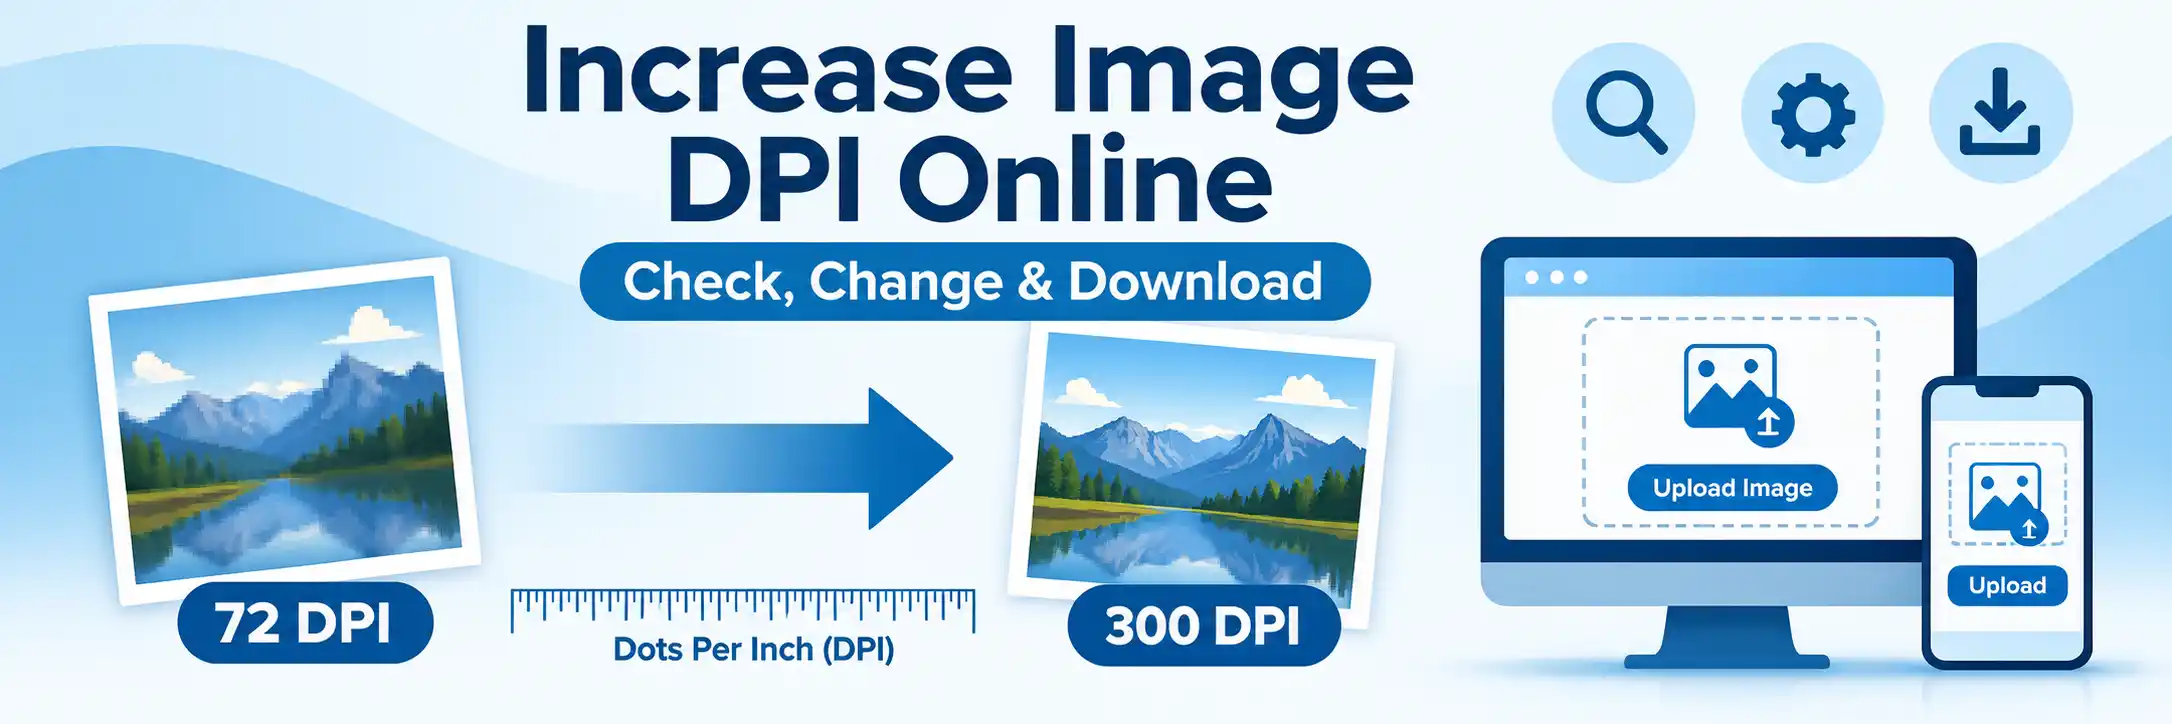
What DPI Actually Means in a Digital Image
DPI stands for dots per inch, and it originally describes how many ink dots a printer places on paper. Strictly speaking, a digital photo does not contain dots — it contains pixels. That is why PPI (pixels per inch) is the more accurate term for image files.
In everyday use, though, almost everyone says "DPI" when they mean the resolution value stored inside an image. Forms, exam portals and print shops use the word DPI, so this guide does too. Just remember that when you change image DPI, you are changing a setting, not the pixels themselves.
DPI, PPI, pixels, dimensions and file size are five different things
These terms get mixed up constantly, and that confusion causes most of the mistakes people make when they try to change the DPI of an image.
| Term | What it describes | Does changing DPI affect it? |
|---|---|---|
| Pixels | The individual colour points that make up the image | No |
| Pixel dimensions | The width and height of the image in pixels (for example 1800 × 1200) | No, unless you resize or resample |
| DPI / PPI | How densely those pixels are assigned per inch for physical output | Yes — this is the value you are changing |
| Print size | The physical size the image would occupy on paper | Yes — it changes automatically |
| File size | How much storage the file takes up (KB or MB) | Usually barely, unless pixels change |
Image quality is a separate idea again. Quality comes from the original capture — the sensor, the lighting, the focus, the compression history. Resolution settings describe how the pixels are used; they do not create quality that was never there.
Why raising the DPI number does not add detail
Think of pixel dimensions as the amount of paint you have, and DPI as the size of the wall you spread it on. The same tin of paint covers a small wall thickly or a large wall thinly. Changing the DPI value is like choosing a different wall size. It does not give you more paint.
That is why a blurry 96 DPI photo does not become a sharp 300 DPI photo. It becomes the same photo with a different resolution label attached to it.
The Three Operations People Confuse
When someone asks how to change DPI of an image, they usually mean one of three very different operations. Knowing which one you need saves time and prevents quality loss.
| Operation | What changes | Pixel count |
|---|---|---|
| Change DPI / PPI only | The resolution setting and the calculated print size | Stays the same |
| Resize pixel dimensions | The width and height in pixels | Goes up or down |
| Upscale (resample) | Pixel dimensions increase, with new pixels created by software | Goes up |
1. Changing the DPI setting without changing pixels
This is the simplest and most common case. Your image stays exactly as it is in terms of pixel count, and only the resolution tag changes.
The file still holds the same 2.16 million pixels. Nothing was invented, nothing was lost. The only real consequence is that the image will now print at a smaller physical size, because more pixels are packed into every inch.
If a requirement simply says "image must be 300 DPI" and gives no pixel dimensions, this is almost always the operation you need. It is also the safest, because it cannot degrade the photo.
2. Resizing the pixel dimensions
Here you are genuinely changing how much image data exists. Making an image smaller is usually harmless — you are throwing away pixels, and the result stays sharp at its new size.
Making it larger is where caution is needed, because you are asking software to guess.
3. Upscaling or resampling
Upscaling creates new pixels based on the ones already present. Modern resampling algorithms are good at smoothing edges and reducing the blockiness you would otherwise see, but they cannot recover real detail that the camera never captured.
Upscaling is worth doing when you genuinely need a large print at a specific resolution, or when a portal insists on minimum pixel dimensions you cannot otherwise meet. It is not worth doing just to make a number look bigger.
Rule of thumb: change DPI when the requirement mentions DPI. Resize or upscale when the requirement mentions pixels, centimetres or inches.
How to Increase DPI of an Image Online
If all you need is a different resolution value, an online tool is the fastest route. There is nothing to install, it works on phones and tablets, and the whole process takes a few clicks. The DPI Converter Online is built for exactly this job.
Step-by-Step: Check DPI → Convert DPI → Download → Verify
- Start with the best original you have Use the original photo or the highest-quality copy available. A file that has already been through social media or a messaging app has been compressed, and compression damage cannot be undone later.
- Check the current resolution before you touch anything You need to know the starting point — the pixel width and height, the current DPI or PPI, the file format and the file size. You can read these from your computer's file properties or from an image editor, and you can also use a browser-based DPI Checker to see them all at once. Knowing the current value tells you whether you need a small adjustment or a large one.
- Enter the required DPI value Type in the number your requirement specifies — 150, 200, 300 or whatever the form asks for. If the instruction only says "high resolution" without a number, check the pixel dimensions instead and treat those as your target.
- Decide whether you also need to resample Most of the time, no. If the requirement only mentions DPI, keep the pixel dimensions as they are and let the tool update the resolution setting. Only enable resampling if a separate requirement sets a minimum pixel size that your image does not meet.
- Convert, download and verify Save the processed file, then open its properties again. Confirm that the DPI value updated, that the pixel dimensions are what you expect, and that the file size and format are still acceptable for where it is going.
Using the DPI Checker first and the DPI Converter Online second keeps the two stages separate. You always know what you started with, which makes it much easier to tell whether the result is actually correct.
What Actually Changes From 96 DPI to 300 DPI
Let us take a concrete example, because this is where the confusion usually clears up.
Suppose you have an image that is 1800 × 1200 pixels at 96 DPI. You change the resolution to 300 DPI without resampling.
The pixel dimensions are still 1800 × 1200. The file has not gained a single pixel of new information. What has changed is the physical size the image will occupy on paper, which you can work out with a simple formula:
| Resolution | Calculation (1800 px wide) | Printed width |
|---|---|---|
| 96 DPI | 1800 ÷ 96 | 18.75 inches |
| 150 DPI | 1800 ÷ 150 | 12 inches |
| 300 DPI | 1800 ÷ 300 | 6 inches |
Same file, same pixels, three different print sizes. That is the entire effect of changing image DPI without resampling.
Notice something important: the 96 DPI version can print larger than the 300 DPI version. A higher DPI number does not mean "bigger" or "better" on its own. It means the pixels are packed more tightly, so the image prints smaller but with more density per inch.
A note on 300 DPI: it is a widely used benchmark for high-quality photo printing, but it is not a universal rule. Large prints viewed from a distance often look fine at 150 PPI. Always follow the exact figure your printer, portal or organisation gives you rather than assuming 300 is required.
How to Check the DPI of an Image
Before changing anything, it helps to know how to check DPI of image files on the device you are using. There are three common routes.
Using your operating system
On Windows, right-click the file, choose Properties, then open the Details tab and look for the horizontal and vertical resolution lines. On macOS, select the file and press Command + I, then expand More Info. On mobile, most gallery apps show basic dimensions, though the DPI value is sometimes hidden.
Using an image editor
Any serious editor will show the resolution alongside the pixel dimensions in its image size dialog. This is useful because you can see the resolution and the pixel count side by side, which makes the relationship much clearer.
Using a browser-based checker
If you do not want to install anything, the DPI Checker reads the file and reports the resolution, pixel dimensions and file size in one view. This is handy when you are on a phone or working on a shared computer.
How to know the DPI of an image that shows no value
Some files simply do not carry a resolution tag. Screenshots, images exported by certain web tools, and files that have passed through several editors often end up with no DPI information at all. When that happens, most software assumes 72 or 96 DPI by default.
In that situation, what really matters is the pixel dimensions. If the pixel count is high enough for the size you need, you can safely assign a new DPI value without any loss.
Does Increasing DPI Change Image Quality or File Size?
Changing only the DPI value leaves the image data untouched, so the visible quality does not change and the file size usually stays almost identical. The resolution is stored as a small piece of metadata, and altering one number does not add or remove pixel information.
File size is driven by other factors: the pixel dimensions, the file format, the compression level, the amount of colour detail, and any embedded metadata. That is why a 300 DPI JPEG can easily be smaller than a 150 DPI PNG of the same photo.
Upscaling is different. Once you add pixels through resampling, you are adding real image data, and the file will usually grow. Whether it looks better is a separate question — more pixels do not automatically mean more detail.
Then why does "increase image DPI" sometimes look sharper?
Usually because the tool did more than change the resolution tag. Many converters resize or resample at the same time, and some apply sharpening. If the result looks noticeably crisper, pixels were probably added or an enhancement filter was applied. It is worth checking the pixel dimensions before and after so you know exactly what happened.
When You Actually Need More Pixels, Not Just a New DPI Value
There is one clear situation where changing the resolution setting is not enough: when you need a physically large print at a specific density.
Say you want a 10-inch-wide print at 300 PPI. Multiply the two:
You need roughly 3000 pixels across the width. If your file is only 1200 pixels wide, no DPI value can fix that. The pixels simply are not there. Your options are to upscale — accepting that the result will be soft — or to go back to the original camera file, which is always the better answer.
This is also the point where knowing how to increase image DPI properly matters, because upscaling and DPI conversion are often bundled together by mistake. Separate them: first decide the pixel dimensions you need, then set the DPI value.
How to Change the DPI of an Image Without Losing Quality
A few habits keep your files in good shape no matter how many times you need to convert DPI.
Work from the original file
Keep a clean master copy and export a new version for each requirement. Never overwrite your only original.
Avoid re-saving JPEGs repeatedly
JPEG compression is lossy, and every save discards a little more data. If you need to make several changes, consider working in PNG or TIFF and converting to JPEG only at the end.
Only resample when you have to
If the requirement is purely about the DPI value, leave the pixel dimensions alone. Adding pixels unnecessarily increases file size without adding real detail.
Check both numbers, not just one
Many requirements specify a DPI value and pixel dimensions. Satisfying one and ignoring the other is one of the most common reasons a submission gets rejected.
Verify before you submit
Re-open the finished file and confirm the DPI, the pixel dimensions, the format and the file size. It takes ten seconds and saves a lot of rework.
Common Mistakes When You Convert DPI
⚠️ Mistakes to Avoid
- Assuming a higher DPI means a better photo. It means denser pixels. Quality still depends on the original capture.
- Confusing DPI with file size. A 300 DPI file can still be only 200 KB, and a 72 DPI file can be several megabytes.
- Changing DPI when the requirement is about pixels. If a form asks for 1200 × 1600 pixels, changing the resolution value will not satisfy it.
⚠️ More Mistakes to Avoid
- Upscaling everything by default. Extra pixels do not recreate missing detail and can make a soft image look worse.
- Ignoring the full specification. Check DPI, pixel dimensions, physical dimensions, file size and format — sometimes all of them apply.
Which DPI Should You Choose?
There is no single correct answer, but these ranges cover most everyday situations.
| Purpose | Typical resolution |
|---|---|
| Web, screen and social media | 72–96 PPI |
| Everyday home and office printing | 150–200 PPI |
| High-quality photo printing | Around 300 PPI |
| Forms, exams and official submissions | Whatever the instructions state |
If your printer, exam authority, employer or publisher has given you a figure, that figure wins every time. For background on how resolution and pixel dimensions interact inside a professional editor, Adobe's guide to image size and resolution explains the relationship clearly.
Frequently Asked Questions
Open the image in a DPI conversion tool, set the resolution to the value you need, and save the file. This changes the resolution setting stored with the image. If you also need more pixels, you have to resize or resample the image separately, because changing the DPI number alone does not add new image data.
Yes. You can change the resolution setting from 96 to 300 DPI or PPI without touching the pixel dimensions. The image will still contain the same number of pixels, and it will not become sharper. What changes is the physical print size the pixels represent.
Not by itself. Image quality depends mainly on the pixel dimensions and the quality of the original file. Raising the resolution value can help an image meet a print or submission requirement, but it cannot restore detail that was never captured.
JPG files store a resolution value in their metadata, so you can change it with an online DPI converter without re-editing the photo. Upload the JPG, check the current resolution, enter the required value, and download the result. Then verify the DPI, pixel dimensions and file size before submitting it.
On most operating systems you can right-click the file and open its properties or information panel to see the resolution. Image editors also display it. If you want a quick browser-based option, an online DPI Checker shows the resolution, pixel dimensions and file size in one place.
No. Changing the DPI or PPI value does not change the pixel width and height unless you deliberately turn on resampling or resizing. It does change the calculated physical print size, because the same pixels are spread across a different number of inches.
Yes. Changing the resolution setting while keeping the same pixel dimensions is a normal workflow. It is useful when a form, printer or portal asks for a specific DPI value but does not ask for larger pixel dimensions.
PPI stands for pixels per inch and describes how densely a digital image's pixels are placed for printed output. DPI stands for dots per inch and technically describes the dots a printer lays down on paper. People often use the two terms interchangeably when talking about image resolution.
No. Around 300 PPI is a common benchmark for high-quality photo printing, but it is not a universal rule. The correct value depends on the print size, viewing distance, the source image, and the exact specification given by the printer, application, exam authority or organisation you are dealing with.
Final Thoughts
Changing image DPI is straightforward once you know which number you are actually editing. In most cases you only need to update the resolution setting, and the photo itself stays exactly as it was. When a requirement also sets a minimum pixel size, that is the point where resizing or upscaling comes in.
So start by checking what you already have. Run the file through the DPI Checker, compare the result with the requirement in front of you, and only then reach for the DPI Converter Online. That one extra step prevents almost every DPI-related mistake.
What makes this workflow stand out:
✓ Check DPI first · ✓ Convert only when needed · ✓ Verify before submitting · ✓ Zero installs · ✓ Always free